In this tutorial, let’s look at the different ways to disable text selection in a web page using CSS properties.
We’re going to first look at disabling/enabling text selection, and then we’re going to specifically look at disabling highlighting while keeping text selection active. Let’s get to it then!
When would you need to disable text selection?
If you look at any web page, by default, you’ll be able to select the text, and I’m not talking about the text in a blog post or a sales page. I’m talking about every single piece of text.
That’s right. If left unchecked, your users will be able to select your button’s text, all your dropdown option’s text and more. That just doesn’t look professional.
Also, with the rampant copy-pasting happening in the webmaster circles, you’d naturally want to protect your articles from selection as well.
Furthermore, in mobile devices, where you double tapping, or in some cases, tapping, lead to text selection, it’ll severely affect the user experience if you don’t change this default behavior.
For instance, if the user is working on an app that involves a lot of drag and drop, they should be able to do just that without selecting text all over the page. Also, none of the app’s instructions should be selectable.
The user-select property
The best, and the most accepted method of disabling text selection using CSS is by using the user-select property. The user-select property allows the user to select the text by default.
All you need to do is set it to none, and you’re good to go.
But user-select is a relatively new CSS property. In fact, it was introduced as a part of CSS3, so it might not be compatible in some of the legacy browsers. It does work great with Chrome, but not so much with Safari, Firefox, or Internet explorer.
So, just to be safe, you’re better off using the browser-specific prefixes (-ms for internet explorer, -webkit for Safari and -moz for Mozilla Firefox) to allow support for these browsers, as shown in the example below:
* {
    -webkit-touch-callout: none; //Safari - triggered on long press of text
    -webkit-user-select: none; //Safari browser
    -moz-user-select: none; //Mozilla firefox browser
    -ms-user-select: none; //Internet explorer
    user-select: none;
}
As you can see above, we’ve used the ‘*’ selector in CSS, which refers to every single element in a web page (from the entire page down to the tiniest element).
Also, the very first line of code has the property -webkit-touch-callout. That obviously is not for web browser support, so what is it for?
Well, as we’ve discussed before, text selection mostly affects mobile users, so we need to change the default reaction of a click of double click in mobile web pages, which is indeed text selection.
The touch-callout property refers to what happens on long press on a touch mobile’s screen. Since we’ve set this property to none, when a mobile screen is long pressed on now, nothing will happen.
You can give touch-callout support to the remaining browsers as well.
Alternatively, if you’re quite sure that your users will be using Google Chrome (on the web or mobile), and none of the other browsers, forego the other lines of code, as shown below:
* {
    user-select: none;
}
So far, we’ve seen what we need in our external CSS file. Now, let’s create an index.html file, fill it with the required HTML code and connect it to the style.css file we’ve created before.
<!DOCTYPE html>
<html lang="en">
<head>
    <title>CSS Disable Text Selection</title>
    <link rel="stylesheet" type="text/css" href="style.css">
</head>

<body>

    <h1>Heading</h1>

    <h2>Subheading 1</h2>

    <p>Lorem ipsum dolor sit amet, consectetur adipisicing elit. Sit, nihil. Molestias nulla vel quae praesentium, iusto molestiae quisquam at dolor exercitationem, architecto a, aut aspernatur dolore laboriosam ad mollitia? Libero ea obcaecati hic iste deserunt necessitatibus quisquam, voluptatem voluptates doloribus, aut laborum, quo voluptas illum eos unde eum. Maiores minus, nisi nam voluptatibus laudantium ad laboriosam magnam incidunt! Dolorum eligendi officia et voluptatum sunt id est. In, amet! Veniam corporis consequuntur rem. Fugit inventore aspernatur itaque magni non quidem fuga unde quisquam, illum dicta accusamus dolore vel iste, atque hic optio, quaerat dolorem error nemo! Odio libero explicabo eos consequatur?</p>

    <h2>Subheading 2</h2>

    <p>Lorem ipsum dolor sit amet, consectetur adipisicing elit. Sit, nihil. Molestias nulla vel quae praesentium, iusto molestiae quisquam at dolor exercitationem, architecto a, aut aspernatur dolore laboriosam ad mollitia? Libero ea obcaecati hic iste deserunt necessitatibus quisquam, voluptatem voluptates doloribus, aut laborum, quo voluptas illum eos unde eum. Maiores minus, nisi nam voluptatibus laudantium ad laboriosam magnam incidunt! Dolorum eligendi officia et voluptatum sunt id est. In, amet! Veniam corporis consequuntur rem. Fugit inventore aspernatur itaque magni non quidem fuga unde quisquam, illum dicta accusamus dolore vel iste, atque hic optio, quaerat dolorem error nemo! Odio libero explicabo eos consequatur?</p>

</body>
</html>
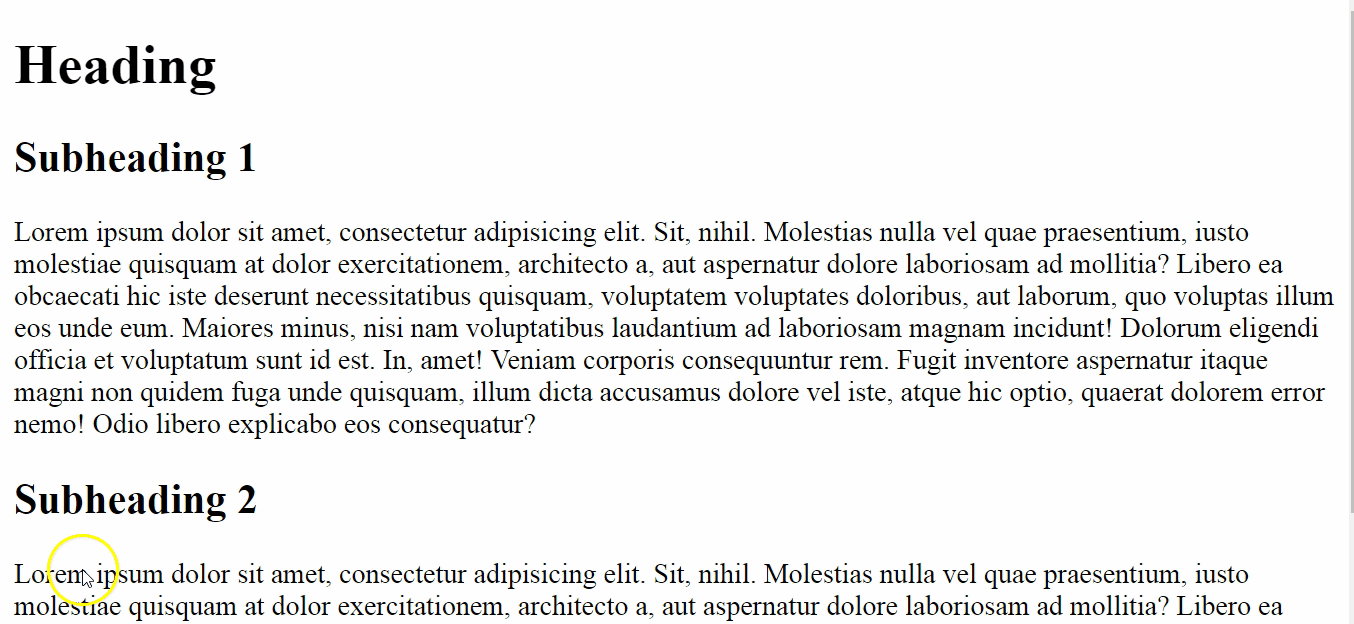
When we run the program now, we can see that our text can’t be selected now, as shown in the below gif:
Other values of user-select – with examples
Now that we’ve looked at how the user-select property works with the ‘none’ value, let’s look at the other options available to us.
We have:
1. ‘text’ – This is the default value if the user-select property was not set to something else beforehand. By default, the user will be able to select a piece of text if they click and drag over it.
2. ‘auto’ – This value can be used to set whatever is the default for the webpage. If the entire webpage has a value of ‘none’, ‘auto’ will set ‘none’ for the element it’s assigned to. If the original default (‘text’) is in place, then ‘auto’ will assign ‘text’ to the element it’s assigned to, and so on.
3. ‘all’ – This property allows for text selection via multiple ways (single click on the text, double click on it, clicking and dragging on it and so on). This option should be used carefully since it can lead to a bad user experience if left unchecked.
4. ‘none’ – With this property, you can prevent the user from selecting all/parts of the text in your web page.
* {
    user-select: none;
}

p:first-of-type {
    user-select: all;
}

h2 {
    user-select: auto;
}

h1 {
    user-select: text;
}
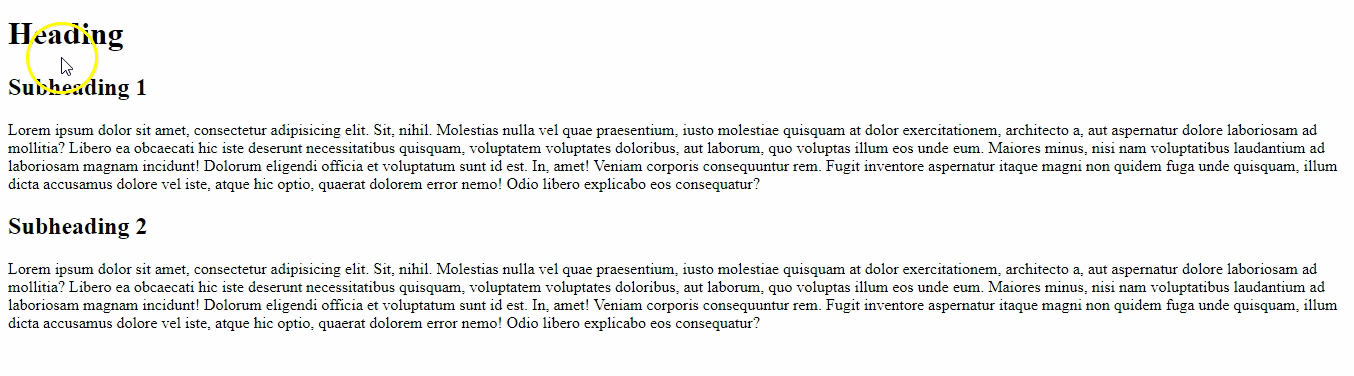
Let’s run the program now:
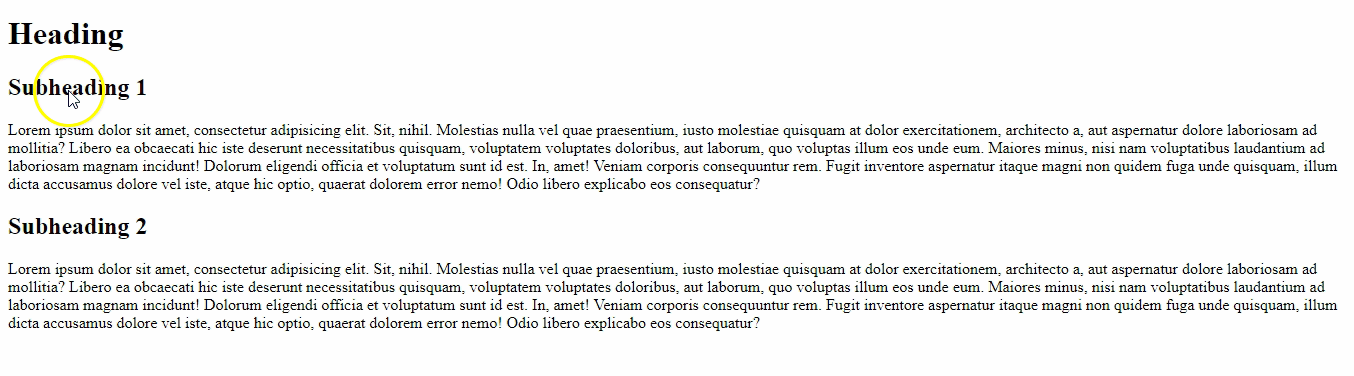
As shown in the above gif,
1. Our first paragraph gets selected on single, as well as double clicks.
2. Our sub-headings were assigned ‘auto’, so the value assigned at the top (‘none’) will be in effect here, since that’s the default/automatic value now.
3. Our heading was assigned ‘text’, so it’ll get selected on clicking and dragging over the text, as usual.
4. The remaining elements (meaning, the second paragraph) will be assigned the default value (for this program) of ‘none’, meaning, the user won’t be able to select its text.
How to disable text highlighting using the ::selection pseudo-selector
Instead of disabling the selection altogether, you can make it invisible. The ::selection pseudo-selector can be used to manipulate the styles (color, background, border etc.) of the text selection your user makes.
If you set the background of your selection to none, you’ve effectively hidden the selection (so your user might think they’re not selecting), but they could go ahead and copy if they want to.
This way, you can allow user-selection to happen without affecting user experience in applications.
::selection {
    background: none;
}
Alternatively, you can just give different styles for your selection to manipulate it the way you want. In the example below, we’ve asked our text selection to be red in color with a yellow background.
::selection {
    background: yellow;
    color: red;
}
Let’s run the above lines of code and see what we get:
As you can see, when we try to select a piece of text, the selection has a background of yellow and is red in color now.
Using the onselectstart method
In a web page, everything is an event, from clicking on a button, to, as in our current case, selecting a text. When a user performs an event your browser is looking for, you can set up your program to react in some way to the user’s input.
In our case, when the user starts to select a piece of text, we can set up our program in such a way that it returns ‘false’, or nothing, so the selection does not happen.
In HTML, you can use the onselectstart event method and return false (within the tag) to achieve what we need, as shown below:
<body onselectstart="return false">
The above example is more JavaScript than even HTML and CSS, so I won’t be going into it further, but I wanted to leave you with the option anyway.
That’s it! We’ve looked at using user-select property and the ::selection pseudo-selector in CSS to manipulate text selection in a web page.